Column · @doorinstallationtoday
Tips for a Smooth Roof Replacement Project
Roof replacement is a major job that affects the whole house. The work goes beyond the shingles and underlayment. Every edge, pipe, and wall penetration must be properly finished to keep water out. Many homeowners focus on the roofing material itself, but the small details around the roof's perimeter and at every penetration are what really determine how long the roof will last and whether leaks will appear.
One area that often gets overlooked during a roof replacement is how the new roof connects to the existing structure at the walls, chimneys, and other vertical surfaces. This is where flashing comes into play. Flashing is the material used to seal the joint between the roof and a vertical surface. Without proper flashing, water can run down the wall and get behind the roofing material, causing rot and mold inside the walls. Good flashing work is what separates a tight roof from one that leaks after a few heavy rains.
Understanding Roof Flashing Basics
Roof flashing is typically made from metal, such as aluminum or galvanized steel, or from specialized flashing tape and membrane products. The idea is to create a waterproof barrier that directs water away from the vulnerable joint. There are several common types of flashing you will see on a well-built roof. Step flashing is used along the sides of a chimney or wall that runs up the slope of the roof. Each piece of metal overlaps the one below it, like stairs, so water sheds down and off the roof. Counter flashing is installed over the top of the step flashing, embedded into the masonry or wall material, to cover the top edge and prevent water from getting behind the flashing. A vent pipe boot is a flexible rubber or neoprene cover that fits tightly around a plumbing vent pipe where it comes through the roof. These boots create a watertight seal around the pipe and are much more reliable than old mastic or caulking alone.
Drip Edge and Underlayment Details
The drip edge is a metal strip installed along the eaves of the roof. Its job is to guide water away from the fascia and into the gutters. Without a drip edge, water can cling to the bottom edge of the roof and run back under the shingles, causing rot in the roof deck. The drip edge also provides a clean, finished look. During installation, the underlayment is typically laid so that it overlaps the drip edge, ensuring any wind-driven rain that gets under the shingles still runs out over the edge and into the gutter rather than dripping down behind the fascia board.
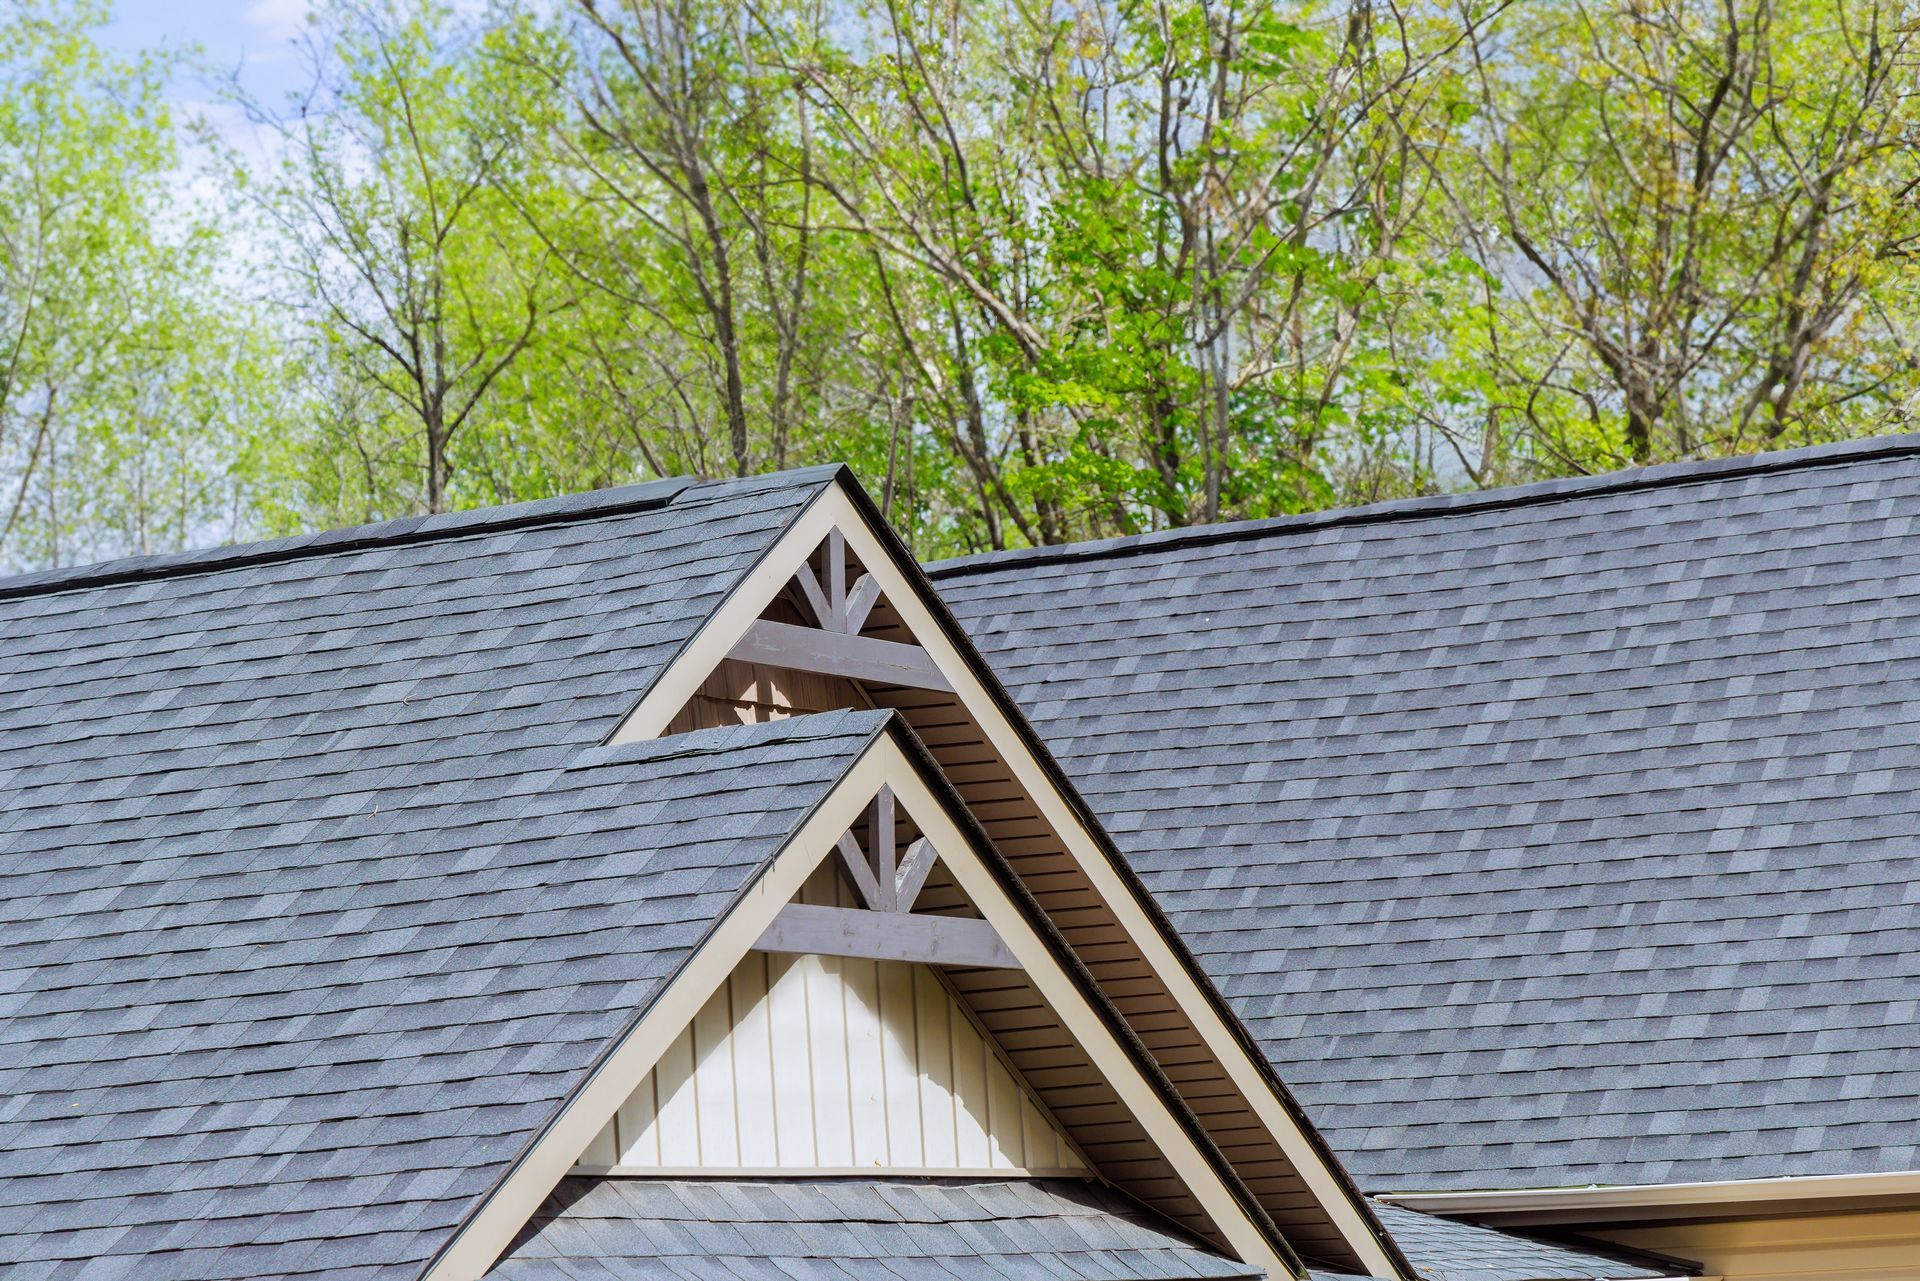
Underlayment is the waterproof layer installed directly on top of the roof deck, before the shingles go on. It acts as a secondary barrier against moisture. On a well-built roof, the underlayment is rolled out horizontally, starting at the bottom edge, with each upper row overlapping the row below it by several inches. This shingling effect sheds water down and out. Special attention is paid to valleys, hips, and other areas where water flows more heavily. In some cases, an additional strip of underlayment or a self-adhering membrane is applied in these high-risk zones for extra protection.
Roof Deck Preparation Matters
Before any flashing or underlayment goes down, the roof deck must be properly prepared. This means the old roofing material is stripped off completely, and the deck boards are inspected for rot, soft spots, or damage. Any compromised decking is cut out and replaced. The surface is swept clean of debris, and protruding nails are removed or hammered down. A smooth, clean deck allows the underlayment to lie flat and seal properly. If the deck has uneven sections, they should be planed or patched so the new roof layers have a consistent surface. Poor deck preparation is a common cause of premature roof failure because bumps and dips create weak points where water can pool or shingles can crack.
Once the deck is clean and sound, the drip edge is installed along the eaves. Then the underlayment is rolled out and fastened according to the manufacturer's instructions. For asphalt shingles, a common practice is to use a full-coverage underlayment that is self-adhering or mechanically fastened. For tile or metal roofs, additional considerations like a slip sheet or a specific type of underlayment may be required. The key is to follow the roofing material manufacturer's specifications closely to maintain the warranty and ensure performance.
Flashing Tape and Modern Solutions
Flashing tape is a modern, self-adhering membrane that comes in rolls. It is used to seal joints around roof penetrations, at the eaves, and along walls. Flashing tape is often made from butyl rubber or a modified bitumen compound that sticks aggressively to clean surfaces. It is a fast and reliable way to create a watertight seal, especially in areas where traditional metal flashing is difficult to install. For example, around a skylight curb or a plumbing vent pipe, flashing tape can be applied over the underlayment to seal the base before the final flashing or boot is installed. However, flashing tape must be applied to a clean, dry surface and properly rolled to ensure full adhesion. If applied in cold weather or on dusty surfaces, it may fail prematurely.

While flashing tape is a useful tool, it is often used in combination with traditional metal flashing. For instance, step flashing may be installed over the tape at the side of a chimney for added mechanical protection. The tape seals the penetration, while the metal flashing provides a durable, UV-resistant layer that can take the physical abuse of foot traffic and weather. A good roofing contractor knows when to rely on tape alone and when to double up for extra security.
Common Mistakes in Roof Flashing Work
One of the most frequent mistakes is failing to extend the flashing far enough up the wall. Building codes and standard practice require the flashing to go up at least a few inches above the finished roof surface. If the flashing is too short, wind-driven rain can push water up and over the top edge. Another common issue is improper overlapping of flashing pieces. Step flashing must overlap by at least two inches, preferably three, to prevent water from seeping in between the pieces. Counter flashing that is not properly embedded into the mortar or wall material can work loose over time, creating a gap that invites water. On a related note, if the roof replacement includes a new door or skylight, the door installation must be carefully coordinated with the roof flashing to ensure the two systems tie together seamlessly. A gap between the door frame and the roof flashing is a direct path for water into the wall cavity.
Another mistake is using the wrong type of flashing for the material of the roof. For example, copper flashing should not be used with aluminum gutters or shingles because of galvanic corrosion. Similarly, some metal flashings require a protective coating in corrosive environments like coastal areas. Matching the flashing material to the roofing material and the local climate is important for long-term durability.
Inspection and Maintenance After Installation
After the roof is finished, it is wise to inspect the flashing and penetrations carefully. Look for any gaps, loose pieces, or areas where the sealant has not bonded. A simple water test with a garden hose can reveal leaks before they cause damage. Over time, flashing can be damaged by falling branches, foot traffic, or severe weather. Checking the flashing annually and after major storms helps catch small problems before they become big ones. Pay particular attention to vent pipe boots, which can crack and dry out in the sun. Replacing a cracked boot is a simple job that can prevent a persistent drip inside the attic.
If you are planning a roof replacement, talk with your contractor about the flashing details early in the process. Make sure the plan includes step flashing for chimneys, counter flashing for walls, and proper drip edge installation. Ask about the type of underlayment they intend to use and how they will handle valleys and other high-water areas. A contractor who takes the time to get these details right is one who understands that a roof is only as good as its weakest joint. Spending a little more on quality flashing and careful installation pays off in decades of trouble-free performance.